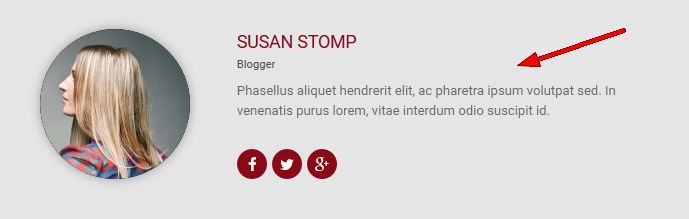
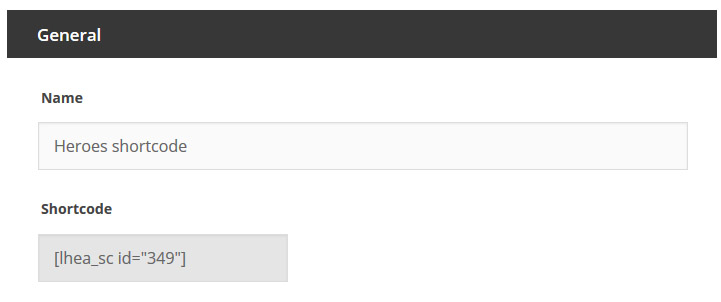
Heroes Assemble
WP Team Showcase Plugin


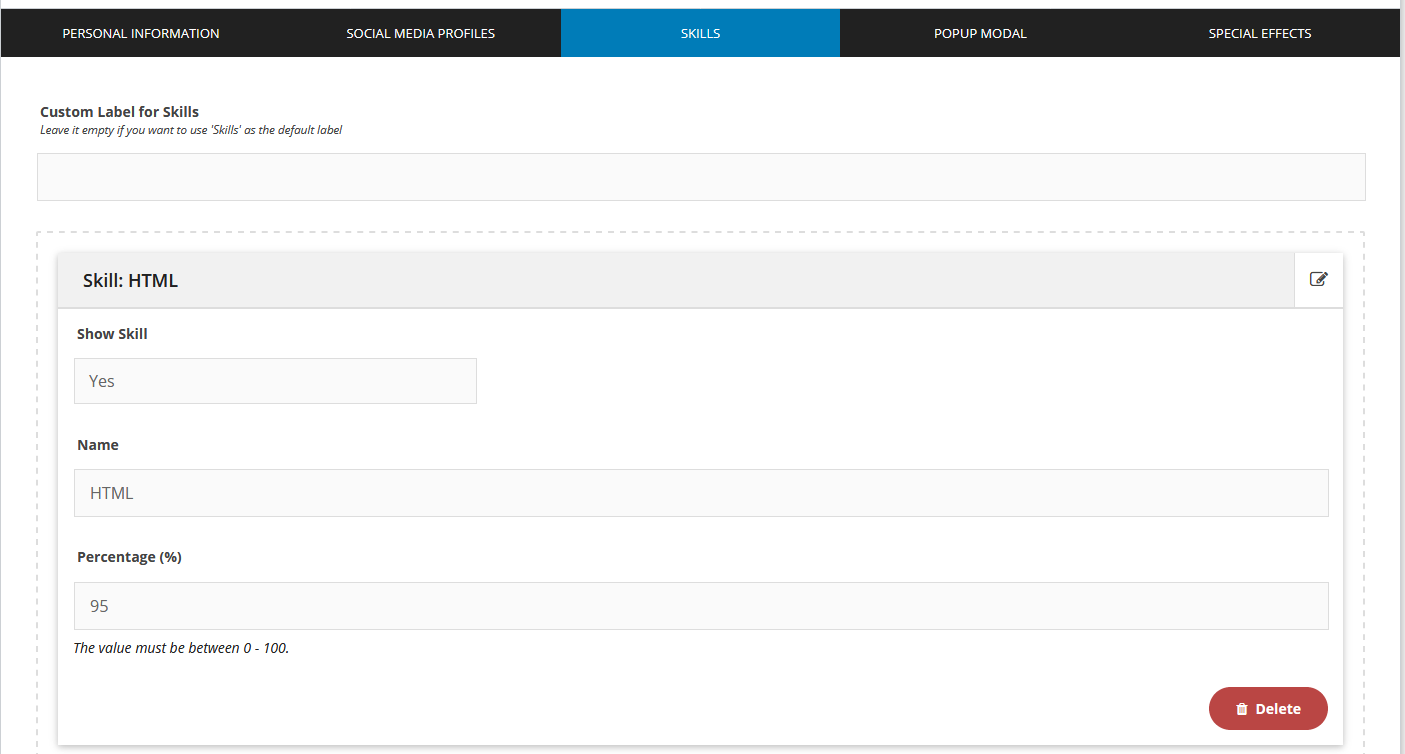


WP Team Showcase Plugin